- SKINCARE
-
-
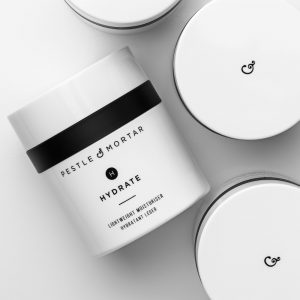
Pestle & Mortar Hydrate Moisturiser
-
-
- HAIR
-
-
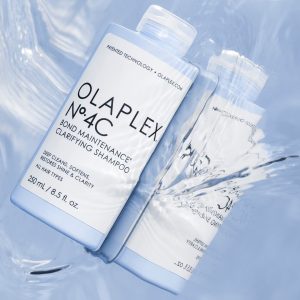
OLAPLEX No.4C Clarifying Shampoo
-
-
- BODY
-
-
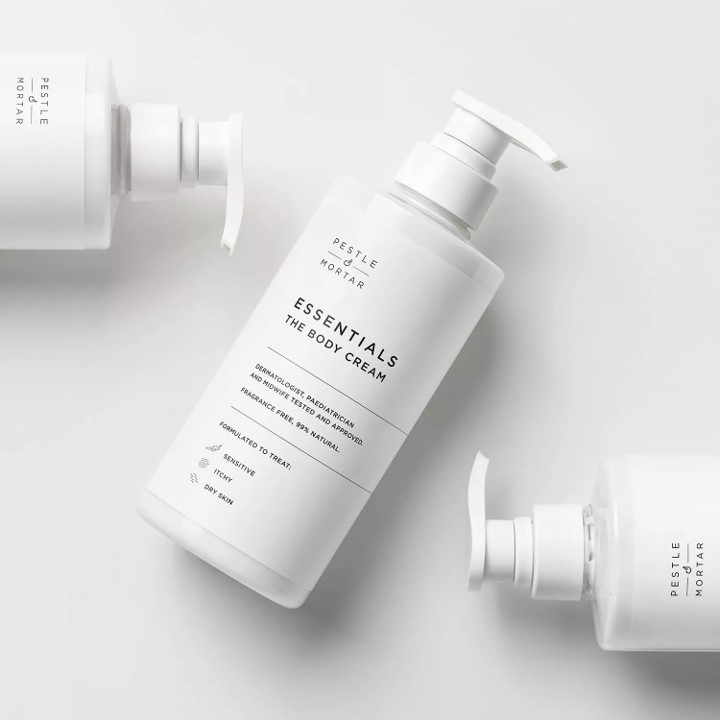
Pestle & Mortar Essentials Body Cream
-
-
- SELF TAN
-
-
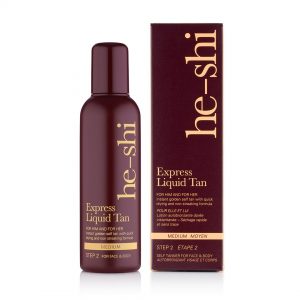
He-Shi Express Liquid Tan
-
-
- MAKE UP
-
-
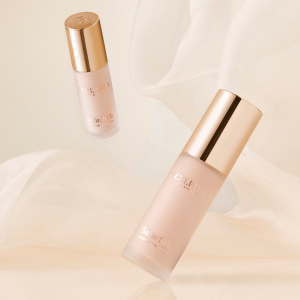
Sculpted by Aimee Satin Silk
-
-
- BRUSHES & TOOLS
-
-
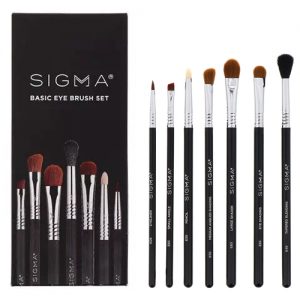
Sigma Basic Eye Brush Set
-
-
- MEN
-
-
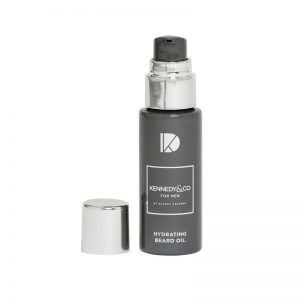
Kennedy & Co Hydrating Beard Oil
-
-
- CHRISTMAS GIFTS
-
-
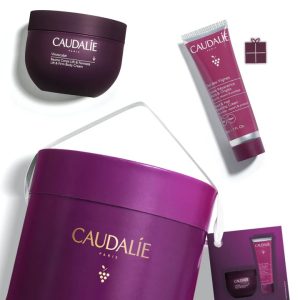
Caudalie Vinosculpt Body Care Gift Set
-
-
We caught up with Trilogy inhouse skincare expert, Corinne Morley to get an insight into beauty oils; why are they so special, what do they do for our skin and how should they be used?
Here’s what Corinne had to say…
Why use beauty oils and what do they do for the skin?
Beauty oils are a great way of delivering active ingredients to your skin. Many pure plant oils extracted from nuts, seeds and fruit are beneficial and completely compatible with the skin, sinking in quickly and working to nourish and hydrate. They also provide a protective yet invisible barrier which helps prevent moisture loss and guards against the drying effects of the environment. And they’re so simple to incorporate into your skincare regime.
What is the best way to use them?
Oils can be used in conjunction with a moisturiser or instead of, depending on your skin’s needs. You can use oils alone, under your moisturiser, or even mixed into it. If you have very dry skin, you’ll probably want to be using both, but we try not to be too prescriptive at Trilogy as we believe you’re the expert when it comes to your own skin.
It’s best to apply your beauty oil after cleansing when the skin is still slightly damp, as it helps absorption and traps extra moisture in the skin. We recommend 2-3 drops, warmed between the fingertips and massaged into the face, neck and décolletage. Because pure plant oils are so full of goodness, your skin only needs a small amount. If you have an oily residue on your skin, you’re probably using too much!
What are your favourite beauty oils?
• Rosehip oil (obviously!): it’s super-rich in essential fatty acids (omegas 3 & 6) and fatty acids (omega 9), intensely nourishing and hydrating, and one of the best for helping repair and rejuvenate skin. Independent clinical studies* have shown Trilogy Certified Organic Rosehip Oil to be highly effective at treating scars, stretch marks, fine lines, wrinkles and dry and dehydrated skin.
• Marula oil: full of nutritional goodness, this silky-smooth oil is revered for its skin healing and preservative properties. It is nourishing and naturally rich in antioxidants, so it hydrates, softens and revitalises skin while helping to protect from free radical damage. It’s especially rich in oleic acid, which is essential to the maintenance of healthy-looking skin. You’ll find it in Trilogy Everything Balm and several Trilogy moisturisers too.
5 Things you should know about the original beautyblender®
1. Best used when wet
Did you know your beautyblender is designed to use wet, rather than dry? This prevents your foundation soaking into the blender and allows better blending for a flawless result.
2. To avoid rips, always squeeze excess water from your blender
Don’t wring out your blender, squeeze firmly to expel any excess water before using. Squeezing in a paper towel will make sure that your sponge is just wet enough to use, but not too damp for effective application.

3. Keep it clean!
Wash your sponge directly after using (or as soon as possible!) to keep it clean and free of bacteria. Wash using a cleaning fluid such as blender cleaner or else simply using a mild soap, rinse until the water runs clear.

4. Pat or press the sponge into the skin
Don’t drag the sponge across the skin, for best results pat the skin surface with the sponge for an even and perfect foundation result.

5. Apply liquid foundation to your hand first
Applying the liquid foundation to the back of your hand will allow the foundation to soften with the warmth of your skin, making your application even easier to blend.
How to Apply:
James’ fool proof way to apply a seamless and professional looking tan relies on working product into the body in stages. Map out the different sections of your body and methodically buff your tan into the skin. Avoid any creams or oils on the skin prior to tanning which may cause patchiness in your tan result.
For an ultimate dark tan result, try James’ layering technique. After you have applied a layer, wait 30 minutes before applying a second layer. This is a great way to get the tan result you want, but it also helps your tan fade more evenly and makes sure you don’t miss any bits!
Face:
Using a tanning mitt, apply the product to the mitt, then fold it in half so that it dilutes the tan. Apply product onto the forehead, cheeks and chin. Buff the product into the skin, up into the hairline, over the jaw and behind the ears.
Neck:
Work any excess product from the face down the front of the neck and around the back for a natural looking tan result.
Torso:
Gently buff the product into the skin. Be careful not to over rub.
Back:
Once you have covered the chest and stomach, starting from the left shoulder, smooth the tan over the back with downward sweeping motions. Repeat this on the right.
Then starting at the base of the spine, working the product upwards, ensuring you apply product to the sides of the body. Take a wooden spoon, put your tanning mitt over it and secure with an elastic band. The long handle will allow you to spread the tan evenly and reach the centre of the back with ease.
Arms:
Using the tanning mitt, apply the product in downward strokes from the shoulder to wrist.
Rotate the arm and work the self-tan from the front to the back. Bend the fingers and glide the excess product from the arms over the hands and fingers. Rub a small amount of moisturiser to areas that you want to look more natural or areas that can sometimes become too dark, such as the sides of the hands and armpits. Check out James’ video on how to avoid over-tanned elbows!
Legs:
Using the tanning mitt smooth the product down the legs from hip to ankle, making sure you go around the back of the thighs and calves. Larger surface areas can seem lighter when using tanning products so if necessary, apply an extra layer. Glide the excess product from the legs over your toes and feet.
We were thrilled when we read that Her.ie are ‘obsessed’ with our new beauty store! Check out their review here:
There are some key makeup products that every makeup artist will have in their armoury, but we mere mortals may not consider necessary. Tara O’Farrell, celebrity makeup artist, busts the myths for us and tells us why we should have some of these key essentials and why we shouldn’t fear using them…
- I have found over the years that a lot of women are afraid of blusher and avoid it completely when applying their makeup. A pop of colour on the cheek is so important for adding dimension to the face, without it everything can look a little bit flat. It is also so fresh and youthful so if you have been leaving it out of your make up routine, definitely reintroduce it, even a small amount makes all the difference.
- Brow products are definite make up kit must haves! There are so many options on the market from brow gels to brow pencils, but all will help to achieve a more defined brow. When I am in a hurry, I simply brush a tinted brow gel through my brows for an instant bit of definition.
- A nude eyeshadow palette is something that everyone should have in their makeup bag. A nice mix of warm brown tones is the best to go for as it is flattering on all eye shapes and skin tones. I also recommend a palette with a nice variety of matte shadows and shimmery eyeshadows to give you options for day and night time make up looks.
Sometimes it can be confusing wondering how many make up brushes you need in your make up bag.
A few essentials are all you need to achieve most make up looks.
• A good foundation brush that you can buff your liquid foundation on with is ideal for achieving a flawless finish to your base.
• A big fluffy powder brush is important for setting the base and also to help achieve a soft contour.
• A fluffy eyeshadow brush is key to a blending Smokey eye, this is probably the most important brush for your eye makeup. It makes blending so much easier.
• A hard-angled brush is a good one to have if you are going to be attempting eyeliner, this will make it so much easier for you. It’s also a good one to have for a perfectly groomed eyebrow.
• A makeup sponge is great for a natural coverage especially for covering blemishes and redness. A small beauty blender is also great for coverage for under the eyes.
• Keeping your make up brushes and sponges clean is extremely important. You can buy a solid brush cleaner that is so quick and easy to use and for a quick fix you can get an antibacterial make up brush cleaning spray.
Click below for more information on The Beauty Kit’s range of makeup tools:
Here we are now at the end of our first week ‘back’ after ringing in the new year; full of optimism, resolutions and good intentions for our minds and bodies.
Instead of layering our lives with over-reaching ambitions of being gym-bunnies, eating our greens everyday and being kinder folk to all around us, let’s break it down to 3 simple steps that are achievable and will make your beauty routine more beneficial for 2019:
1) Use a hair mask once a month
Your hair is one of your greatest assets, you wear it every day! Take care of it by treating it to an intense mask just once a month. The benefits will be evident from the first use and you can then get used to gorgeous compliments from your family and friends.
2) Be strict with your skincare regime
Taking care of your skin is a must-have resolution for 2019. If you find that the harsh winter weather (and excesses of Christmas!) are taking its toll on your skin, you can give your skin a much-needed boost by incorporating a caring approach into your daily skincare routine. Allow yourself that extra five minutes in the morning and at night (especially at night, when the skin is at its most receptive), to give your skin a thorough cleanse using a cleansing balm or oil, followed by a serum and day cream/night cream and eye cream. Your skin will thank you for it!
3) Clean your makeup brushes
Our brushes typically go from our makeup bag into our product, to our faces and then even to our vanity table surfaces, all building up countless amounts of bacteria before we come back and pick them up and use them again the next day. While we all dread to think of nasties building up on our brushes, it is a fact that dirty brushes do transfer bacteria to the skin and can also cause make up to look muddy and unfinished because of the build-up of product on them. The bristles on your brushes can become weakened too from excess product, causing them to be damaged and therefore not as effective in applying the product correctly. You can simply avoid this by have two products in your arsenal: a spot cleaning brush cleaner to use every day / every other day and a more thorough brush cleaner to use once a week.
Top makeup artist, Tara O’Farrell has shared with us her Top 10 Beauty Kit Must-Haves! Over to you Tara…
You don’t need a million products to achieve a perfect make up look every time. I have a few absolute essentials that will definitely speed up your make up routine and also make a huge difference to the end result.
Nude Eyeliner
This is something that everyone should have in their make up bag. A nude liner on the waterline is the quickest way to fake a good night’s sleep. It also makes small eyes appear to be bigger and brighter.
Liquid Illuminator
This is such a good addition to your make up routine. A couple of drops of a liquid illuminator mixed in with your regular foundation will completely transform the appearance of your skin. It will instantly make the skin appear more radiant.
Lip Liner
One of my desert island must haves, a natural lip colour lip liner is the easiest way to make your lips look fuller. Simply lining the natural lip line will enhance your lip shape.
Foundation
We all have different skin requirements that we look for when choosing our foundation but one thing that I think is essential to get from your foundation is staying power. A long lasting foundation that will last the whole day long and also give you the coverage you require is something that we should all have in our make up kit.
Under Eye Concealer
I have quite dark circles under my eyes so I do rely on a good coverage under eye concealer to take away the tired look. I always recommend choosing an under eye concealer that is one or two shades lighter than your foundation to give a brightening and lifting effect under the eye.
Lipstick
Every woman has a certain shade of lipstick that makes them feel their best. My personal choice is always a nude, as it enhances and adds volume to the lips but if red lipstick is your thing then make sure you have a fabulous one at the ready!
Primer
When it comes to choosing your primer is all depends on your skin type. I have oily skin so I always look for a pore minimizing and mattifying primer. If you have a drier skin type go for an illuminating and hydrating primer.
Mascara
Mascara is a real instant fix and great way to open up the eyes and make your eyes appear to be bigger. I always apply one layer, leave it to dry and then apply a second coat for extra volume. The tips of your natural lashes are usually transparent so adding mascara to the lashes instantly will add length.
Bronzer
A matte bronzer is the best way to add dimension to the face. Simply apply in the shape of the number 3 down the two sides of the face to add warmth and definition to the face.
Highlighter
A powder highlighter is an essential addition to your make up routine. I recommend applying it to the tear duct to brighten up the eye, the Cupid’s bow to add volume to the lips and the top of the cheekbone to give the skin a fabulous glow.
Check out our full range of makeup must-haves